In the previous post information on Ubuntu installation was shared, in this post we shall see how to install OpenCV in Ubuntu 14.04.
Note : The Instructions are from the site below. The same has been posted here for reference -
http://www.sysads.co.uk/2014/05/install-opencv-2-4-9-ubuntu-14-04-13-10/
Step 1 The first step here is the most important step. And the first step is to update the list of package repositories. This will come in handy while installing latest packages and their dependencies described in upcoming steps.
sudo apt-get updateThis will take a while. I would suggest a cup of coffee.
Step 2 Remove previously installed FFMPEG and x264 libraries
sudo apt-get remove ffmpeg x264 libx264-dev
Step 3 Once this is completed, install the necessary packages for compiling openCV sources
Note: The package “ocl-icd-libopencl1” is selected for the following installation as my system does not contain NVIDIA graphics card. If your system has NVIDIA card then install ‘libopencv-dev’ instead of
‘ocl-icd-libopencl1’.
sudo apt-get install ocl-icd-libopencl1 build-essential checkinstall cmake pkg-config
yasm libjpeg-dev libjasper-dev libavcodec-dev libavformat-dev libswscale-dev
libdc1394-22-dev libxine-dev libgstreamer0.10-dev libgstreamer-plugins-base0.10-dev
libv4l-dev python-dev python-numpy libtbb-dev libqt4-dev libgtk2.0-dev libfaac-dev
libmp3lame-dev libopencore-amrnb-dev libopencore-amrwb-dev libtheora-dev libvorbis-dev
libxvidcore-dev x264 v4l-utils
Notice most of the packages are already installed during Ubuntu Installation. If not it will be installed now anyway.
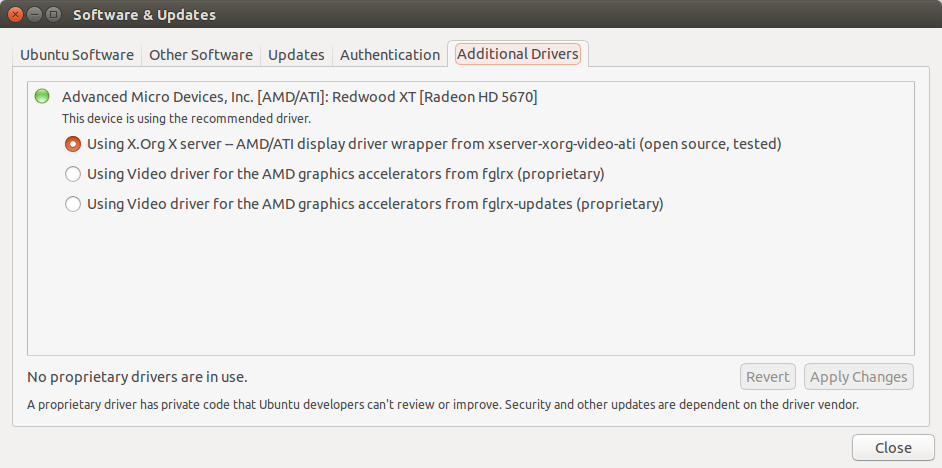
Note: In this sample, the system contains AMD [ATI Radeon] graphics card

Step 4 Make a directory to download and build OpenCV
mkdir opencv
cd /opencv/
Step 5 Download the OpenCV sources for linux or Click here to start download. Unzip the OpenCV Sources.
wget -O OpenCV-2.4.9.zip http://fossies.org/linux/misc/opencv-2.4.9.zip
unzip OpenCV-2.4.9.zip
cd opencv-2.4.9
Step 6 Create a directory for compiling the sources
mkdir build
cd build
Step 7 Start building sources using CMAKE and install.
Important !! Make sure that the hierarchical path to the OpenCV sources does not contain any spaces.
Ex:
/home/bhp/my stuff/opencv src compilation/opencv2.4.9 <<--incorrect
/home/bhp/my_stuff/opencv/opencv2.4.9/ <<--better
cmake -D CMAKE_BUILD_TYPE=RELEASE -D CMAKE_INSTALL_PREFIX=/usr/local -D WITH_TBB=ON
-D BUILD_NEW_PYTHON_SUPPORT=ON -D WITH_V4L=ON -D INSTALL_C_EXAMPLES=ON
-D INSTALL_PYTHON_EXAMPLES=ON -D BUILD_EXAMPLES=ON -D WITH_QT=ON -D WITH_OPENGL=ON ..
The next step will take a while. Use multiple jobs to 'make' faster. [Ex: make -j8]
make
sudo make install

sudo sh -c 'echo "/usr/local/lib" > /etc/ld.so.conf.d/opencv.conf'
sudo ldconfig
Step 8 Reboot the system for everything to take effect.
Step 9 Run an example C++ code provided with OpenCV Sources
cd /usr/local/share/OpenCV/samples/cpp
g++ houghlines.cpp -o application `pkg-config --cflags --libs opencv`
./application
Result


No comments:
Post a Comment